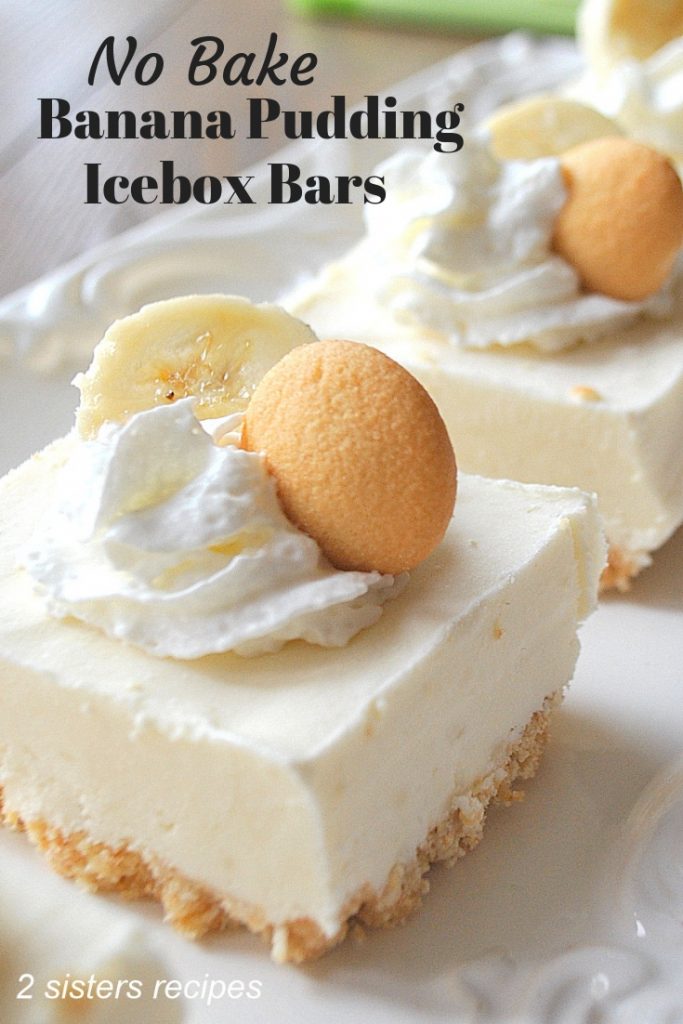
Banana Pudding Icebox Bars
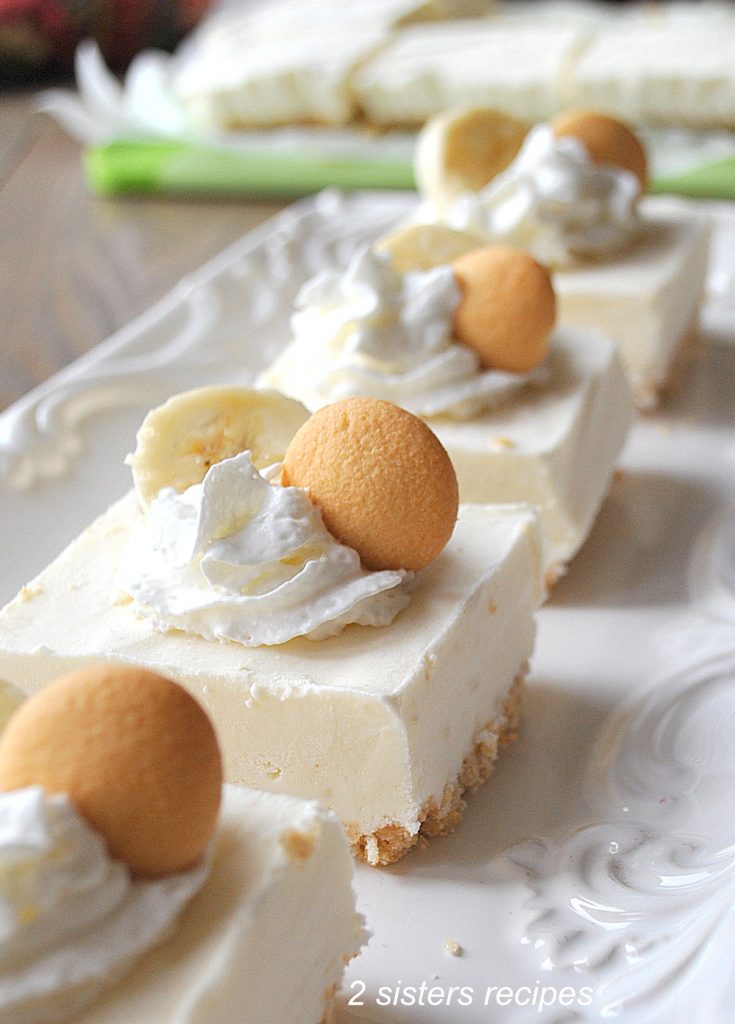
No Bake Banana Pudding Icebox Bars combine cheesecake and banana pudding filling over a Nilla cookie crust to make a frozen treat and a delightful dessert! Cut into perfect little squares and served with whipped cream, mini wafer cookies, and a slice of banana on top, makes these bars taste like our favorite banana pudding cream pie, except it’s frozen! YUM!
No-Bake Banana Pudding Icebox Bars…
It’s no secret, we love bananas! And, we love no-bake desserts too!
So when I found this recipe for no-bake banana pudding icebox bars in a magazine, I just knew I had to try it!
No-Bake Banana Pudding Icebox Bars come together in 3 easy steps.
The First Step: Make the Crust:
1. Line the baking dish with parchment paper and fold it at the seams to make it fit better into the baking dish.
2. Next, crush Nilla cookies and mix them with butter and some sugar, then spread them evenly on the bottom of the baking dish.
3. Then place it into the freezer while you prepare the pudding and cream cheese mixture.
Second Step: is to Make the Filling:
1. Prepare the banana pudding and cheesecake mixture and fold them together.
2. Then make the whipped cream and fold some into the banana pudding mixture.
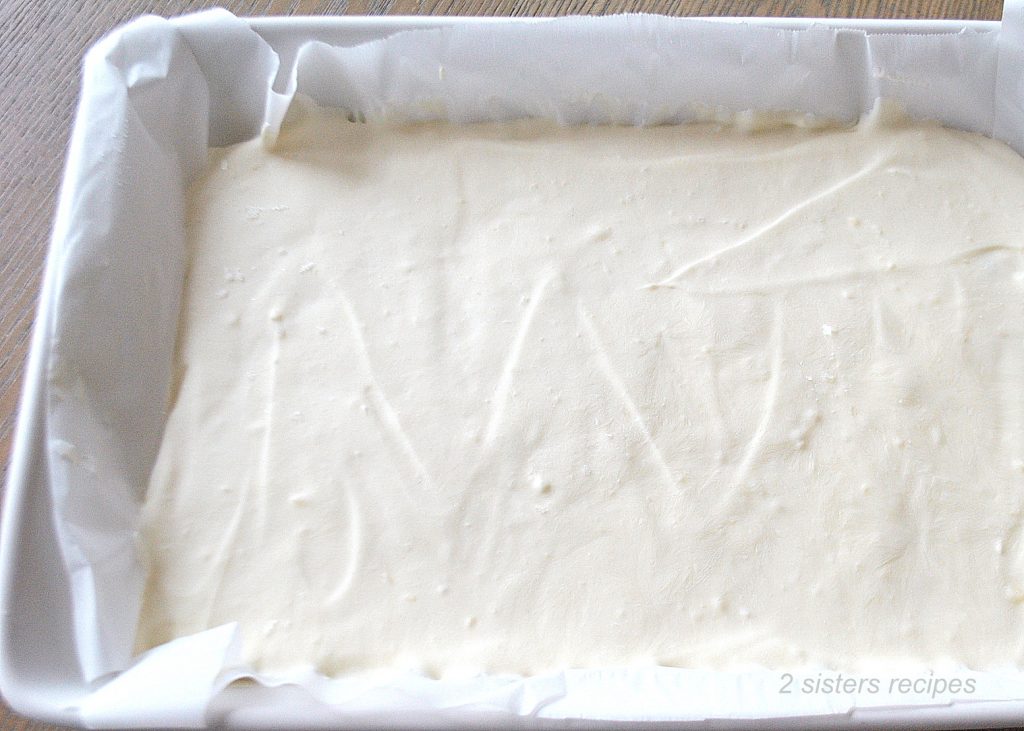
3. Finally, pour the entire banana pudding mixture over the prepared crust.
Final Step: To Freeze!
Sounds like it’s a lot of steps, but it’s very easy.
Quick Notes and Tips…
- For this recipe, I decided to make real whipped cream instead of using artificial whipped topping.
- Call me crazy, but I’d rather go the extra effort or mile to make my desserts mostly all-natural and use organic ingredients as much as possible.
- Also, the very first time I made these no-bake banana pudding icebox bars, I found the banana flavor to be a little too weak, especially, when I used the organic banana pudding mix.
- Therefore, the second time I made them, I added some banana extract into the mixture to improve the flavor. And even added some to the whipped cream. I needed this dessert to have a more banana punch to it.
But, hey…that’s me!
When Ready to Serve…
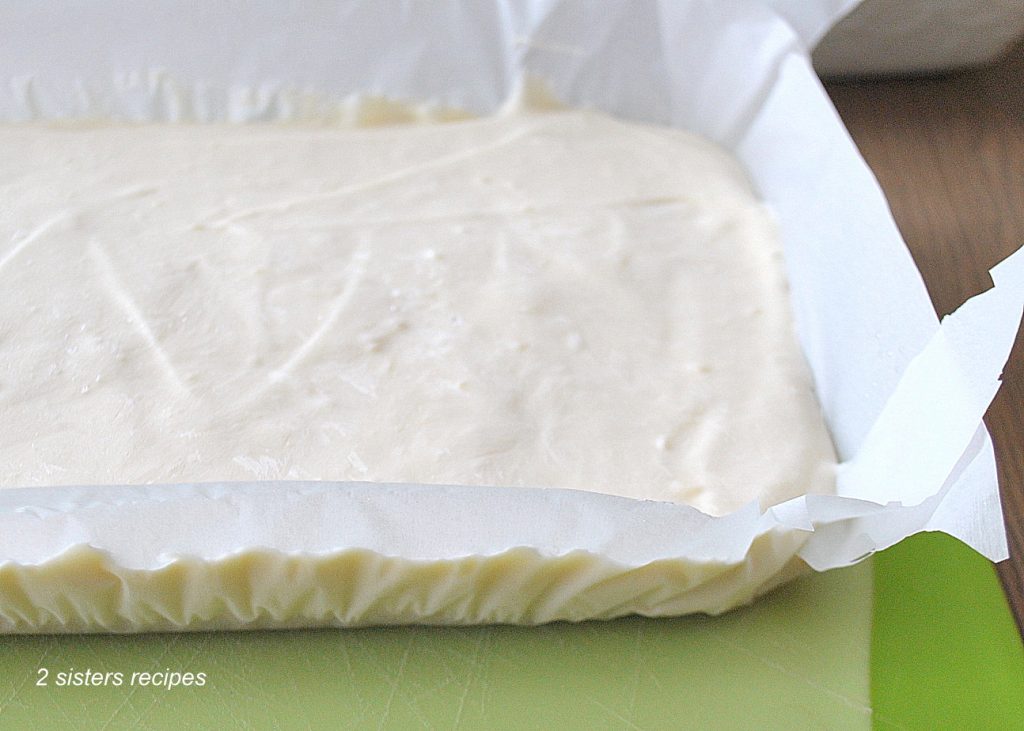
When you are ready to serve, pull up the parchment paper and pop it out of the baking dish. You’ll find it pops out easily.
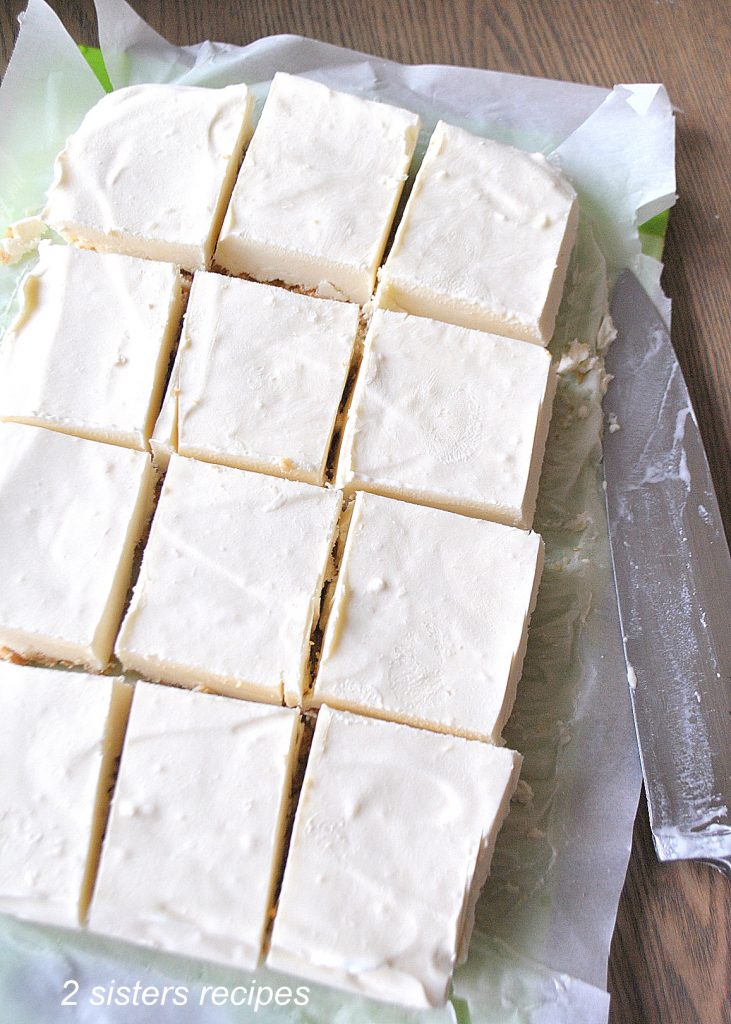
Then transfer onto a cutting board and use a good sharp knife to cut into perfect little squares!
Serve each bar with some whipped cream on top, then add a Nilla Wafer Mini Cookie and a slice of banana as a garnish, makes these no-bake banana pudding icebox bars look SO pretty!!
No-Bake Banana Pudding Icebox Bars turned out really great! There are easy enough to make ahead and serve!
You can’t go wrong when you add whipped cream to these Banana Pudding Icebox Bars.
A perfect square topped with whipped cream, a wafer cookie, and a slice of banana, is the quintessential dessert-eating experience!
Enjoy!!
Here’s a really good tip to remember!
- Just before serving, always add the whipped cream at the last minute to each bar, then serve immediately.
- Otherwise, the whipped cream (especially if you use the already-made brand) will melt too quickly and will ruin the appearance.
Need Additional No-Bake Desserts? …try these:
- 5 Minute Mixed Berry Pie
- No-Bake Dairy Free Vanilla Toasted Almond Panna Cotta
- Chocolate Chip Cannoli Dip
- Mixed Berry Icebox Cake
- Peach Foster Pudding Parfaits
- Silky Chocolate Cream Pie
- No-Bake Chocolate Chip Peanut Butter Cookies (Gluten-Free)
Yield: 12 bars
No-Bake Banana Pudding Ice Box Bars
No-Bake Banana Pudding Icebox Bars are easy to make and freeze dessert! Topped with whipped cream, a mini Nilla cookie and a slice of banana and cut into perfect little squares, makes a delightful dessert during any holiday season!
Prep Time
30 minutes
Total Time
30 minutes
Ingredients
For the Crust:
- 1 + 1/2 cups crushed Nilla wafers
- 5 Tbsp. unsalted butter, melted
- 2 Tbsp. sugar
- pinch sea salt
Fresh Whipped Cream:
- 3/4 cup of heavy cream
- 1/2 Tbsp. powdered sugar
- 1/4 tsp. banana extract
For the Filling:
- 1 package (8-ounce) cream cheese, softened
- 1/4 cup sugar
- 1/8 tsp. banana extract
- 1 + 1/2 cups of whipped cream - divided
- 1 package (3.4-ounce) instant banana pudding mix ( or use Organic Pudding Mix)
- 1 + 3/4 cups whole milk
For Topping:
- Whipped cream
- 1 small banana - sliced
- 12 mini Nilla wafers
Instructions
- Line an 8" X 10" baking dish or pan with parchment paper. Fold the paper at the seams to make it sit into the baking dish. Allow the parchment paper to overlap the dish.
Make the crust:
- In a medium bowl, combine crushed Nilla wafers (about 2 cups of mini wafers crushed) with butter, sugar, and salt. Press in an even layer into the prepared baking dish or pan. Then place it into the freezer while you make the filling.
Make the whipped cream:
- In a medium-size bowl, and using a hand mixer, beat the heavy cream for 2 minutes. Add in the powdered sugar and 1/2 teaspoon banana extract and continue to beat until the whipped cream forms stiff peaks. Chill in the fridge while you make the filling.
Make Pudding & Cheesecake Filling:
- In a medium-size bowl, whisk together pudding mix and milk for about 2 minutes. Place the banana pudding into the fridge for a few minutes or more until it thickens a little.
- NEXT: In a large bowl and using a hand mixer, beat cream cheese, sugar, and 1/8 teaspoon banana extract until smooth and creamy. Then, gently fold in the whipped cream (about 1 + 1/2 cups), until well combined. (Reserve the remaining whipped cream in the fridge to use as the topping). Then fold in the banana pudding into the cream cheese mixture.
- Pour the banana pudding cheesecake filling into the prepared crust and smooth into an even layer. Freeze for at least 6 hours, until firm or overnight is best.
- When firm, remove from the freezer and pull up on the parchment paper to pop out the frozen pudding. Transfer onto a cutting board and slice into 12 equal squares or bars.
- Top each bar with a dollop of fresh whipped cream, add a slice of banana and a mini Nilla wafer on top and serve.
- Yields: 12 bars
Notes
If you decide to use Organic banana pudding and need to cook the pudding on stove-top, you will need to place it into the freezer for a few minutes to cool down before you incorporate into the cream cheese mixture.
Nutrition Information:
Yield:
12 servingsServing Size:
1 banana icebox barAmount Per Serving: Calories: 236Total Fat: 20.1gCarbohydrates: 12.9gFiber: 0gSugar: 8.5gProtein: 3.3g
Finally, if you’re looking for more recipes for Bananas, you might enjoy these:
- Banana Chocolate Chip Ice Cream-only 5 ingredients!
- Decadent Chocolate Chip Banana Bread
- The Ultimate Banana Bread – Super Moist
- Coffee Banana Milkshake
- Banana Chocolate Chip Muffins
Don’t forget to Pin and Share!! …thanks so much!
Hello friends! Are you following us somewhere on Social Media? If you make these no-bake banana pudding icebox bars, let us know and leave a comment with a star rating.
For more delicious recipes, follow us on Instagram, Pinterest, and Twitter!
Don’t forget to enter your email in our weekly ‘Subscribe Box’ and be the first to get new recipes “FREE” every time we post, and reminders of great older ones too!
Thanks for stopping by and have a great day!
Have Fun in the Kitchen! 🙂
xo anna and liz
Related Posts:


Welcome! From Anna and Liz
We believe the kitchen is the center and the heart of the home. It is where we cook, eat, and unwind with family and friends, creating memorable traditions! Read more…
Sign Up For Our Email List
Something delicious for your inbox! Subscribe and join our email list and get all our recipes FREE!
Hey I am so happy I found your website, I really found you by error, while I was browsing on Digg for something else,
Anyhow I am here now and would just like to say thanks a lot for a marvelous post and a all round entertaining blog (I also love the theme/design), I don’t have time to
look over it all at the moment but I have saved
it and also added in your RSS feeds, so when I have time I will be back to read a lot more,
Please do keep up the great b.
Well Hello there!! And welcome to our blog! It is so nice to meet you! And thank you for your lovely comment. We will stop by and see what’s cooking in your neck of the woods! thanks again…. have a great weekend! 🙂
This looks luscious! One of my husband’s aunts always used to bring a dessert called “Luscious Dessert” to the big annual Christmas party. This reminds me of that recipe. Simple and oh, so good!@
And that name suits this dessert well! Thanks so much Susan!
My husband loves old fashioned banana pudding so your frozen dessert would be a real treat. I agree with you about using real whipped cream…it takes so little time to prepare.
Thanks for much Karen!