No-Bake Blackberry Cheesecake
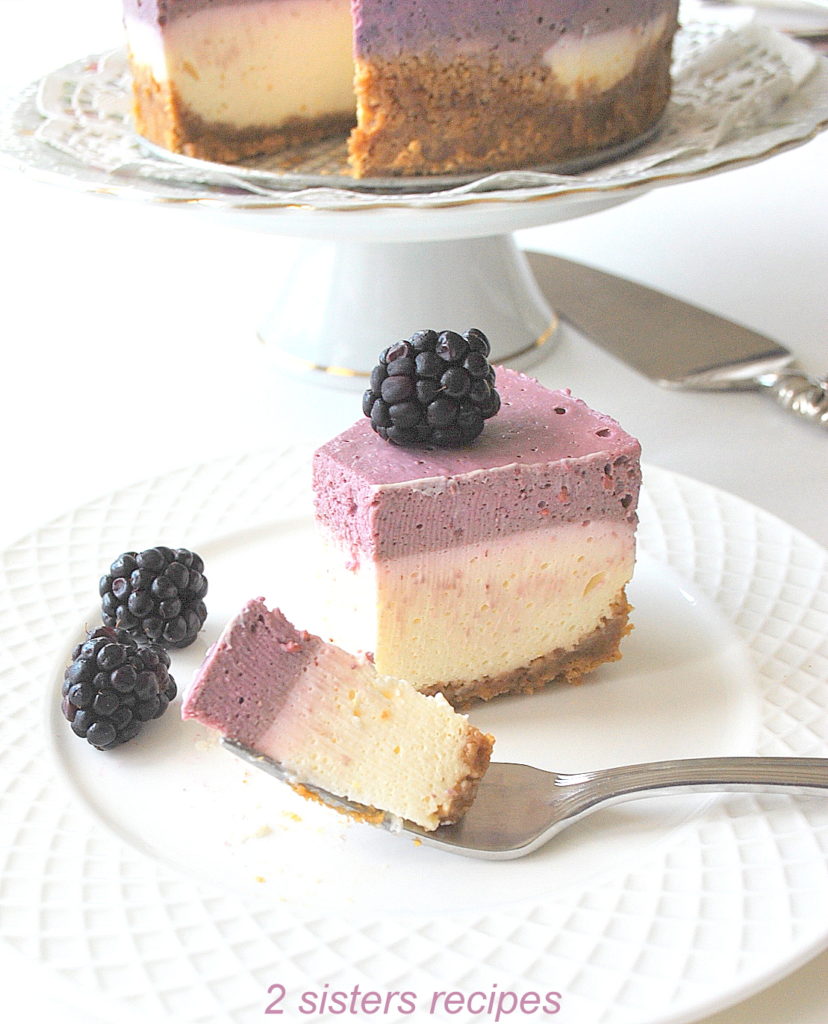
Try this No-Bake Blackberry Cheesecake! A mouth-watering treat, this cheesecake has two luscious layers – a lemon-flavored bottom with a top layer bursting with the sweet taste of blackberries. YUM! Give it a try today!
No Bake Blackberry Cheesecake
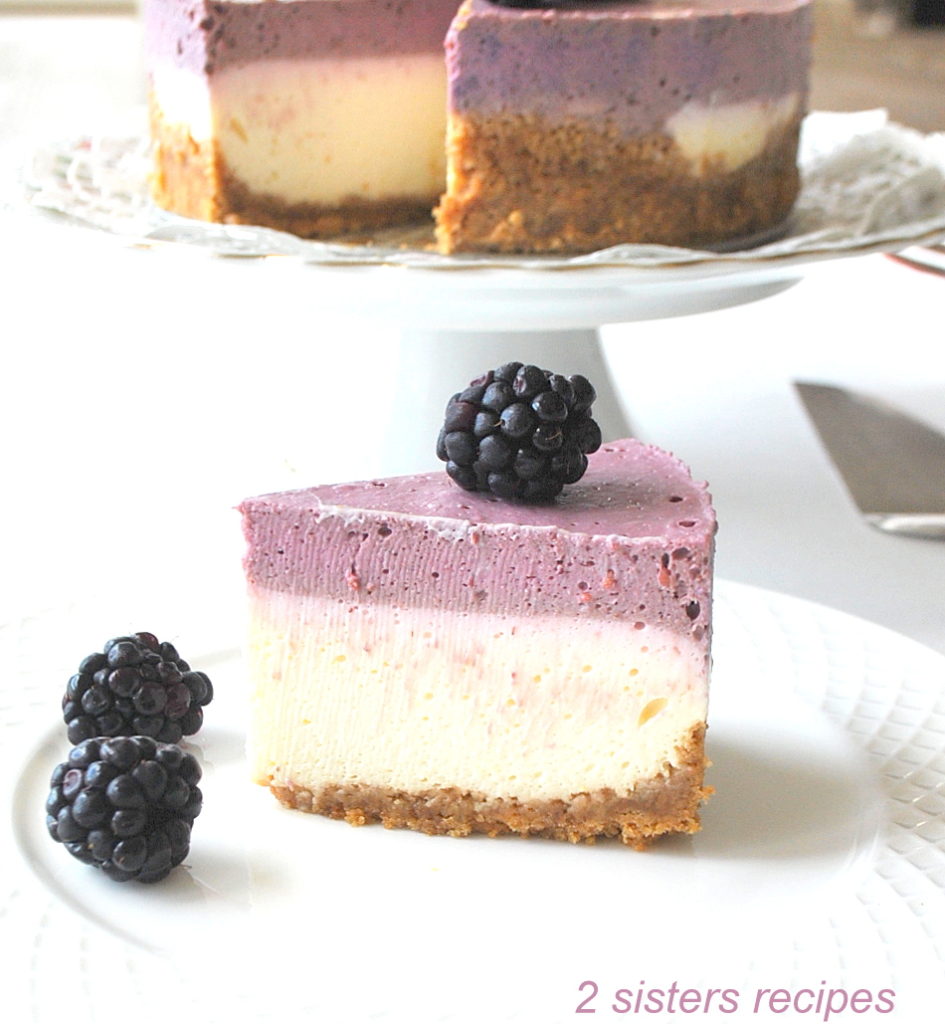
This is a two-layer cheesecake made with a few simple ingredients like cream cheese, heavy cream, lemon juice, and fresh blackberries. Inspired by my lemon raspberry panna cotta cheesecake recipe, only this one presents itself with a beautiful color of purple, and will surely please everyone who tastes it.
An excellent cheesecake to make for the summer and any occasion! The flavors of blackberry and lemon go perfectly together. If you love “no-bake” desserts, then try our No-Bake Lemon Cheesecake Bars, and (No-Bake) Mixed Berry Icebox Cake. And, if you LOVE blackberries? Then try our blackberry chocolate chip gelato! It too is delicious!
Reasons to LOVE our Blackberry Cheesecake…
- No baking – what’s-so-ever!
- This easy blackberry cheesecake is set upon a gluten-free ginger cookie crust.
- It will make a splash of color on your dessert table.
- Unlike other cheesecakes, this one lends itself to an airy-like texture.
- It’s a combination of a cheesecake mousse, with a pudding-like blackberry top.
- The flavors are to die for!
How to Make It?
Let’s discuss the 3 Easy Steps To Making this No-Bake Cheesecake:
- MAKE THE CRUST: The first step is to make the crust and freeze it for a few minutes.
- MAKE THE FILLING: The second is to make the cheesecake filling and freeze that too, while you prepare the third and final step.
- PREPARE BLACKBERRY FILLING: And, the third and final step is to add the blackberry filling on top.
PRO TIP! Before you begin, it’s a good idea to make some room in your freezer to fit your 7-inch or 8-inch springform cheesecake pan. 🙂
Ingredients Needed…
For our no-bake blackberry cheesecake, you will need the following ingredients:
- gluten-free ginger snap cookies or the original
- organic brown sugar
- butter
- cream cheese
- heavy whipping cream
- sour cream
- vanilla extract
- 1 lemon for lemon juice and zest
- fresh blackberries
- 1 envelope of unflavored gelatine (by Knox), divided
- one 7-inch springform pan
Directions on How to Make Blackberry Cheesecake: (*full recipe card below!)
STEP 1: Make the Crust:
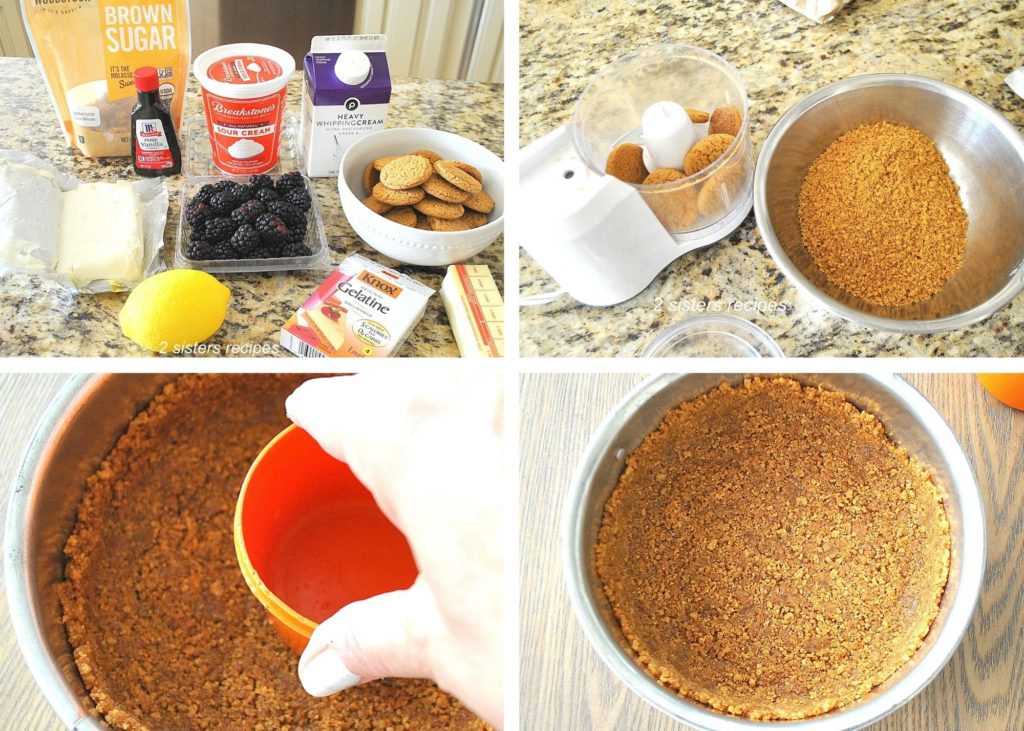
1. The crust is made with 3 ingredients: Gluten-Free Ginger Snap Cookies, brown sugar, and melted butter.
2. NEXT, the crumb mixture is poured into a 7-inch springform pan and firmly pressed down on the bottom of the pan and up the sides. We recommend using a small glass or measuring cup to press firmly.
3. No need to bake the crust. Just pop the pan into the freezer for about 10 minutes while you prepare the cheesecake filling. Freezing the crust will make it firm, and perfect to slice when serving.
*QUICK TIP: Feel free to use original ginger snap cookies if you prefer. Either cookie will work great in this dessert.
STEP 2: Make the Cheesecake Filling: (There are 2 parts to make the filling)
- For The Cheesecake Filling: The ingredients needed for the filling are: 1 brick of cream cheese, sour cream, vanilla extract, lemon juice, lemon zest, and only 1 + 1/2 teaspoons of unflavored gelatin powder, sugar, and heavy cream.
*QUICK TIP! It’s important to bring the cream cheese to room temperature before you start. No fancy equipment is required. You will only need a blender to do all the work.
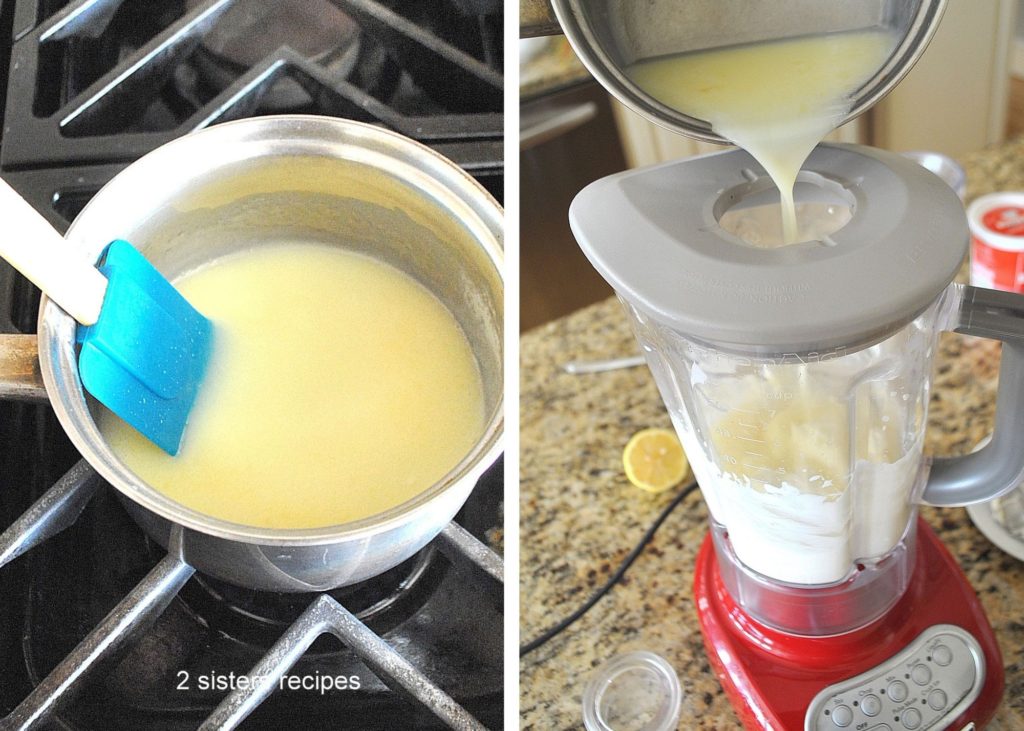
- When you heat the heavy cream, it’s important to stir the cream with the gelatin until both the gelatin and sugar completely dissolve into the cream. Then slowly pour it into the cream cheese mixture inside the blender.
- Blend on the slowest speed first, then gradually raise the speed to combine the mixture until completely smooth.

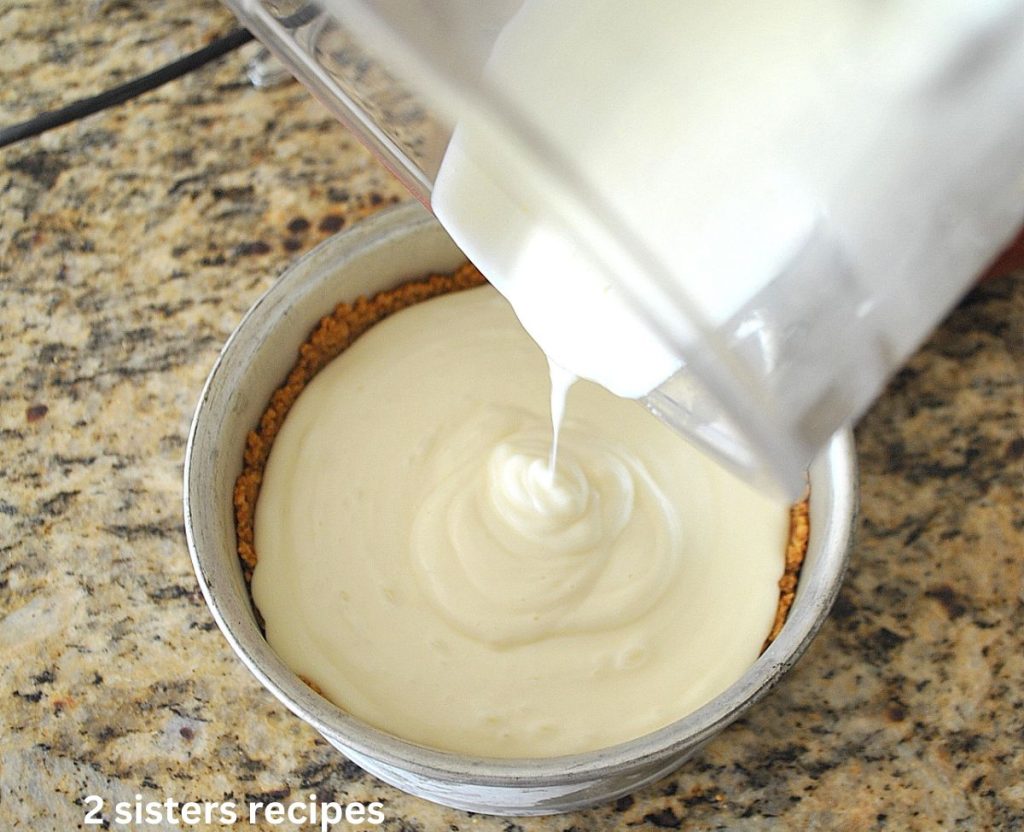
- Finally, pour the cheesecake mixture into the prepared crust, and transfer it back into the freezer while you prepare the final blackberry layer.
*GREAT TIP! No need to rinse the blender in between Steps 1 and 2 when blending the fillings. Making this process even easier. Plus, no need to clean the blender or the small pot – you will use it again for the blackberry layer on top. 🙂
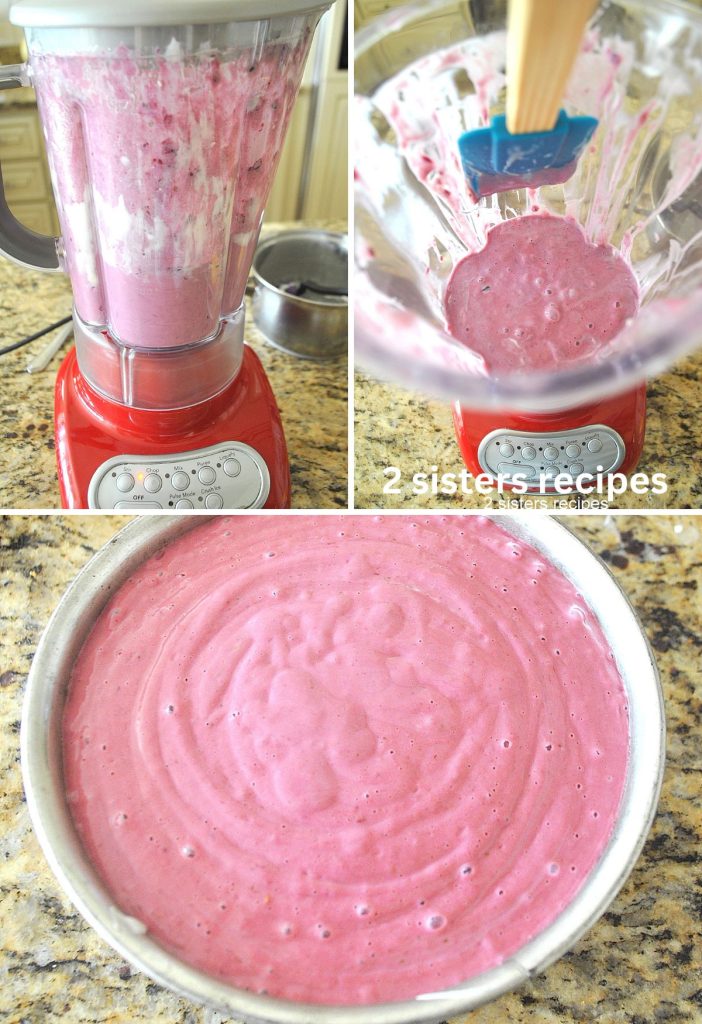
STEP 3: Make The Blackberry Filling:
- For the Blackberry Filling: You will need only 4 ingredients: 1 + 1/2 cups of fresh blackberries, heavy cream, some sugar, and 1 + 1/2 teaspoons of unflavored gelatine powder.
- Then follow the exact instructions in our recipe card below for the blackberry filling and blend the ingredients in the same blender.
- Lastly, pour the final blackberry layer over the cheesecake filling and transfer it to your refrigerator for a few hours before serving.
- Or you can freeze it for one hour before serving.
Storing and Freezing:
- TO STORE: Cover the cheesecake with either clear wrap or aluminum foil and keep it chilled in the refrigerator. Our no-bake cheesecake will stay fresh for up to 4 days.
2. TO FREEZE: You can freeze it as well, and for up to one month. Allow to thaw the night before in the refrigerator before serving.
A Fun Fact about how Cheesecake came about? It was invented in ancient Greece, long before the Romans adapted the recipe. So we can’t take credit for the cheesecake, but we can take credit for the panna cotta! 😉
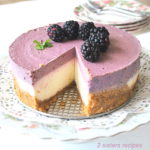
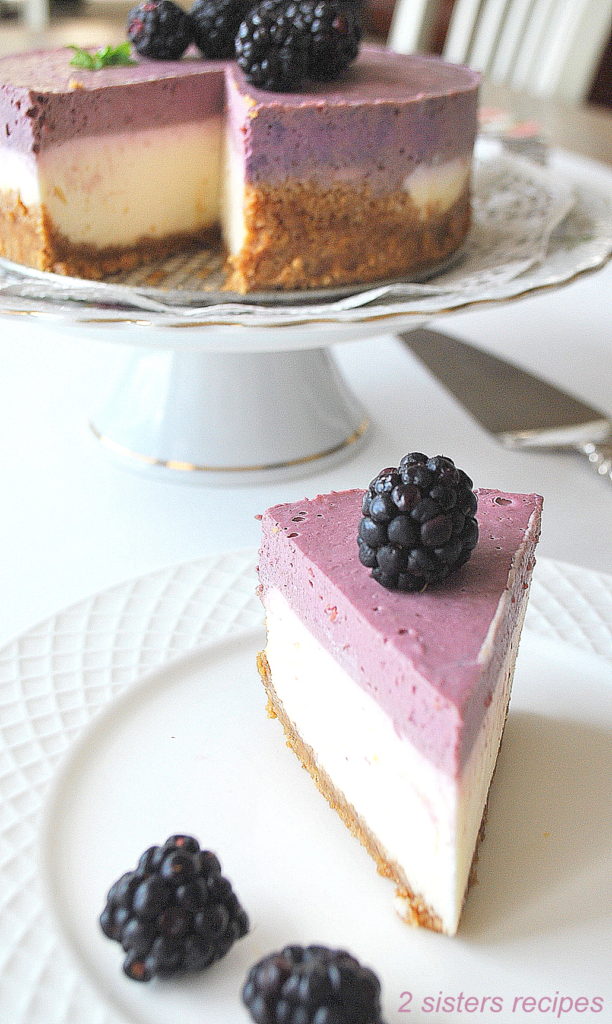
This No-Bake Blackberry Cheesecake will make a fabulous presentation.
This cheesecake is a delicious dessert, and when it’s all done, it’s all worth the process! No fuss and it can be made up to 2 days ahead.
Serve with extra blackberries on top or whipped cream on the side, and you’ll have this quick and easy cheesecake dessert ready in no time.
Try it and let us know!
ENJOY!!
Try These Next!
- Blackberry Lemon Crumble Bars
- No-Bake Lemon Cheesecake Bars
- Raspberry Lemon Crumble Bars
- Bakery-Style Lemon Raspberry Cake
- NO-BAKE Silky Chocolate Cream Pie (dairy-free)
- Lemon Blueberry Crumble Bars
- Mixed Berry Icebox Cake (No-Bake)
Your comments help us! If you make my no-bake blackberry cheesecake, let us know and leave a comment and star rating in our recipe card above! We’d love to hear from you! And, thank you!
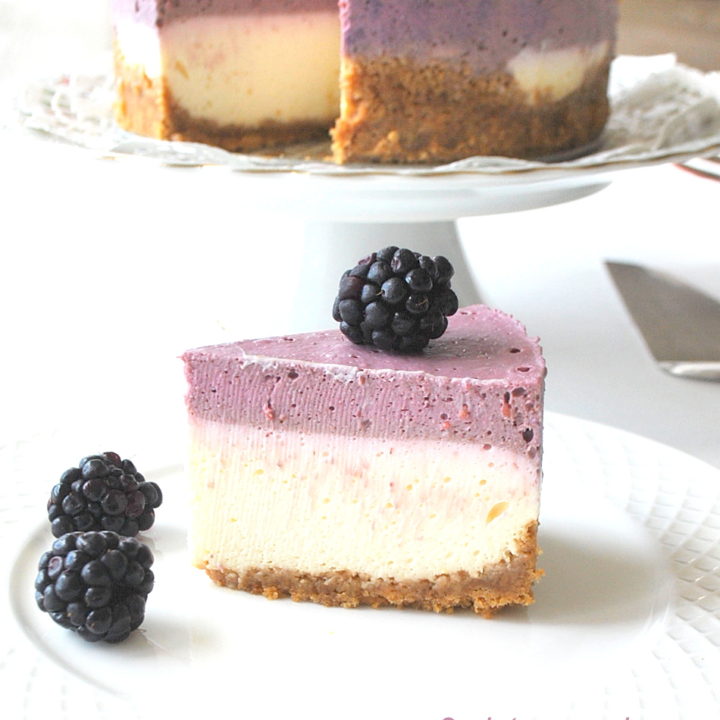
No-Bake Blackberry Cheesecake
No-Bake Blackberry Cheesecake is a light, velvety cheesecake bottom with a delicious blackberry layer on top. Gluten-free, super easy to make, and elegant enough to serve for any occasion.
Ingredients
For the Crust:
- 1 + 1/4 cups (GF or original) Ginger Snap Cookies- finely crushed (about 25 small cookies).
- 1/4 cup packed brown sugar (light or dark)
- 4 Tbsp. butter - melted
For the Cheesecake Filling:
- 3/4 cup heavy whipping cream
- 1 + 1/2 tsp. of unflavored gelatine powder
- 1/2 cup granulated sugar
- 1 (8-ounce) (226g) cream cheese - room temperature
- 1/2 tsp. vanilla extract
- 2 Tbsp. lemon juice
- 1 tsp. lemon zest
- 3/4 cup sour cream
For the Blackberry Layer:
- 3/4 cup heavy cream
- 1 + 1/2 tsp. of unflavored gelatine powder
- 2 Tbsp. granulated sugar
- 1 (6-ounce) (about 1 + 1/2 cups) fresh blackberries
Instructions
Make the Crust:
- First, crush the cookies. Do this in two batches, put them into a mini chopper or food processor and pulse a few times until they are completely crushed.
- In a small bowl, use a fork to combine crushed cookie crumbs with melted butter and brown sugar.
- Pour the moist crumb mixture into a 7-inch springform cheesecake pan. Use a small glass or a measuring cup and press firmly on the bottom and up the sides. Then place the pan into your freezer for at least 10 minutes or more.
To Make Cheesecake Filling:
- First, pour the heavy cream into a small pot and place it on the stovetop. Sprinkle 1 +1/2 teaspoons of the gelatine powder over the cream and turn on low heat.
- Add the sugar and stir until the sugar and gelatin have completely dissolved, and the cream is heated for about 2 to 3 minutes. Do not bring to a boil. Turn off the heat.
- Next, place the cream cheese, vanilla extract, sour cream, lemon juice, and lemon zest into a blender. Blend on low speed for about 30 seconds.
- Pop open the top of the lid on the blender and slowly pour in the hot cream mixture. Close the top, grab a kitchen towel, and hold down the top of the blender as you press the lowest speed for a few seconds. Then gradually increase its speed to the highest, and puree the mixture for about 2 minutes. Stop the blending and use a spatula to scrape down the sides of the blender to blend the mixture evenly. Blend again for an additional minute.
- Then remove the prepared crust from the freezer. Slowly pour the cream cheese mixture into the crust. Transfer the cheesecake pan back into the freezer, while you make the blackberry layer.
Make the Blackberry Layer:
- In the same small pot (and no need to rinse) pour in the heavy cream, and sprinkle over the cream with 1 + 1/2 teaspoons of unflavored gelatin powder. Turn on low heat. Heat the cream and stir in the sugar. Stir until the gelatin and sugar are completely dissolved. Turn off the heat.
- Use your blender again, and no need to rinse it. Toss in the fresh blackberries, and blend on low speed. Open the top of the cover and slowly pour in the hot cream mixture and close the lid of the blender.
- Hold down the top and turn on the lowest speed for a few seconds. Then gradually increase your speed to the highest speed for about 1 to 2 minutes.
- Then turn off the blender, and use a spatula to scrape down the sides of the blender to blend the mixture evenly. And, blend again for an additional minute.
- Finally, pull out the cheesecake from the freezer. Gently pour the blackberry mixture over the cheesecake layer and transfer to your refrigerator and chill (uncovered) for at least 2 hours or more before serving. Overnight is best.
To Remove Springform Pan:
- Before you open the latch, loosen the sides of the cheesecake using a warm knife. Gently run warm water over the knife for a few seconds, wipe it dry, then slowly slide a knife around the cheesecake to ensure it's not sticking to the springform pan.
- Then open the latch and remove the band from the cheesecake.
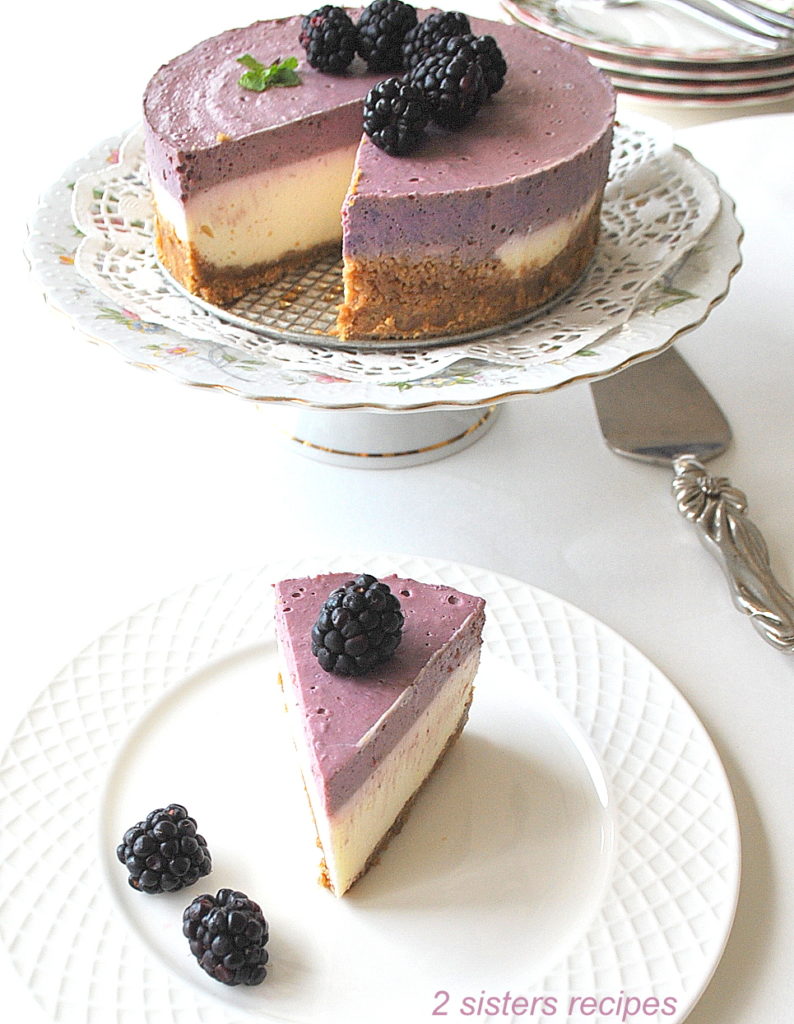
- Garnish with fresh blackberries and a sprig of mint on top.
- Transfer to a serving plate and serve.
- Serves 8 to 10
Notes
Storing and Freezing:
- TO STORE: Cover the cheesecake with either clear wrap or aluminum foil and keep it chilled in the refrigerator. Our no-bake cheesecake will stay fresh for up to 4 days.
- TO FREEZE: You can freeze it as well, and for up to one month. Allow to thaw the night before in the refrigerator before serving.
Nutrition Information:
Yield: 8 to 10 servings Serving Size: 1 servingAmount Per Serving: Calories: 290Total Fat: 23gCarbohydrates: 20.1gFiber: 1.2gSugar: 17.2gProtein: 3g
In case you missed it…
Most Popular Recipes of The Week…
Stay Healthy …and Happy! 🙂
Thanks for stopping by!
xo anna and liz
Related Posts:


")


Welcome! From Anna and Liz
We believe the kitchen is the center and the heart of the home. It is where we cook, eat, and unwind with family and friends, creating memorable traditions! Read more…
FREE EMAIL BONUS
Weeknight Dinners Made Easy
Tips & recipes for delicious meals . . . no matter your skill level!
FREE EMAIL BONUS
Weeknight Dinners Made Easy
Tips & recipes for delicious meals . . . no matter your skill level!
Being Diabetic is it ok to not use granulated sugar but instead use a small amount of Agave?
Good Morning Debbie! You can modify the sugar in any recipe. How much? I am not sure, but I do know that Agave is still a sugar. As with table sugar, high-fructose corn syrup, and other sugars, people with diabetes should avoid it. You can try low-calorie natural alternatives, such as stevia or monk fruit. Besides, you can avoid it entirely in some desserts, they won’t turn out to be as sweet, but the blackberries in our cheesecake will be sweet.
I hope this helps. 🙂
Have you ever double the recipe and put it in a 9×13 pan? Just was wondering if you have ever tried it that way.
Hi Annetta! Actually, no I have never doubled the recipe. I have made it in a 10″ springform pan, and it turns out fine, only it’s lower in appearance. But if you want to try it to make it in a 9 x 13 pan, let us know the outcome and share a photo on our Pinterest or Instagram acct. We’d love to see how it turns out.
What a gorgeous looking cheesecake. Perfect for summer and berry season!
Aw, thank you Susan for your kind words! Enjoy and have a great day! 🙂
I have never made a no-bake cheesecake! But I love them. My grandmother used to not bake one for me on my birthday. It’s about time I made one, and I love blackberries!
Thanks, Jeff! I’m glad and hope you will enjoy this cheesecake as much as we do. Have a great day! 🙂
Sounds incredible! I love no bake treats so I’ll have to try this!
Thanks so much! It’s a true winner! 🙂
Besides being gorgeous, this no-bake cheesecake sounds incredibly delicious!!! Perfect for the weekend!
Thanks so much, Liz! I hope you’ll give it a try. Have a great day! 🙂
This is gorgeous! I can’t believe it’s not bake too 🙂
Thanks, Barbara! My family loved it! Hope you will try my recipe. Have a great weekend! 🙂
What a fabulous looking cheesecake and I bet it tastes wonderful too!
Oh well, I think it does, but you will have to make it and let me know. Thanks so much Sandra!